


Honed Concrete Installation:
A Step-by-Step Breakdown of the Process
Table of Contents
- Introduction
- The Benefits of Using Honed Aggregate
- Understanding the Materials Needed for Honed Concrete Installation
- Preparing the Surface for Honed Concrete Installations
- Applying the Honed Concrete
- Techniques for Achieving the Desired Finish
- Curing and Sealing the Honed Concrete Surface
- Maintenance Tips for Honed Concrete Surfaces
- Honed Concrete Installation Cost and Considerations
- Conclusion: Enhancing your Space with Honed Aggregate
Introduction
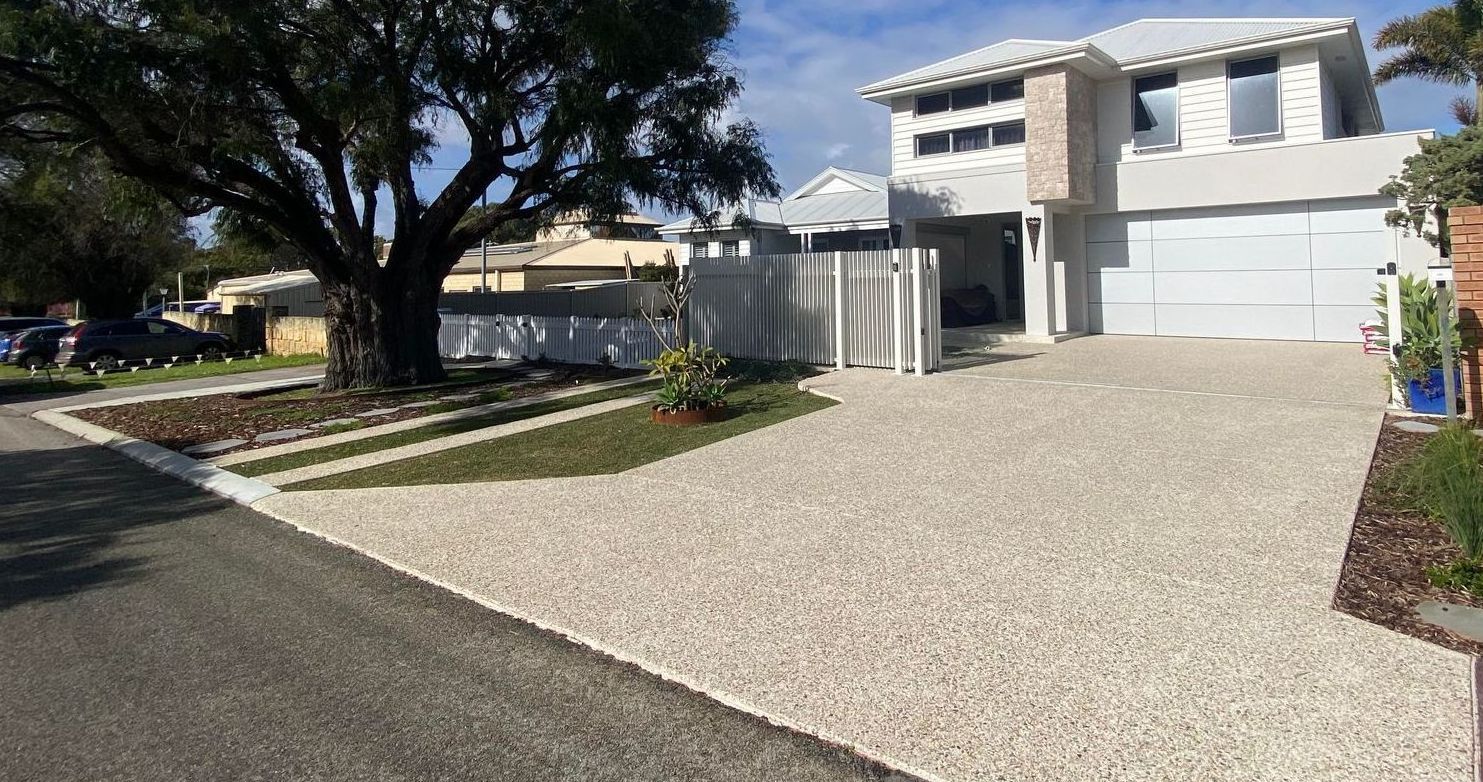
Honed Aggregate is a popular choice for a variety of applications, from driveways and pathways to your pool surrounds and outdoor entertainment areas. Its smooth underfoot surface and stunning colour variations create a visually striking and durable space.
In this blog post, we will walk you through each stage of the honed aggregate installation process. Starting with site preparation, we will delve into excavation, base preparation, and formwork. We will also cover the crucial steps of pouring the aggregate, honing and sealing the surface, and finally, providing proper maintenance to ensure its longevity.
At Handmade Concreting, we understand the importance of delivering high-quality content about decorative concrete, concrete flooring and honed concrete that empowers our readers. Our step-by-step breakdown ensures accuracy and attention to detail, guaranteeing a successful honed aggregate installation every time. So let's jump right in and master the art of honed aggregate installation together!
The Benefits of Using Honed Aggregate
Honed aggregate offers numerous benefits that make it a popular choice for both residential and commercial projects. Firstly, its smooth, polished surface creates an aesthetically pleasing finish that enhances the overall look of any space. The stunning colour variations in honed aggregate add depth and visual interest, transforming ordinary surfaces into extraordinary ones.
Moreover, honed aggregate is highly durable and resistant to wear and tear. It can withstand heavy foot traffic, vehicle loads, and extreme weather conditions, making it ideal for outdoor applications. Its low maintenance requirements also make it a cost-effective choice in the long run, as it does not require frequent repairs or replacements.
In addition, honed aggregate concrete is an environmentally friendly option. It can be made using recycled materials, reducing the need for new resources. Its longevity also minimises the environmental impact associated with frequent replacements.
Overall, the benefits of using honed aggregate, such as its visual appeal, durability, low maintenance, and sustainability, make it a versatile and practical choice for various projects.
Understanding the Materials Needed for Honed Concrete Installation
Before diving into the installation process, it's essential to familiarise yourself with the materials required for honed aggregate installation. Here are the key components you'll need:
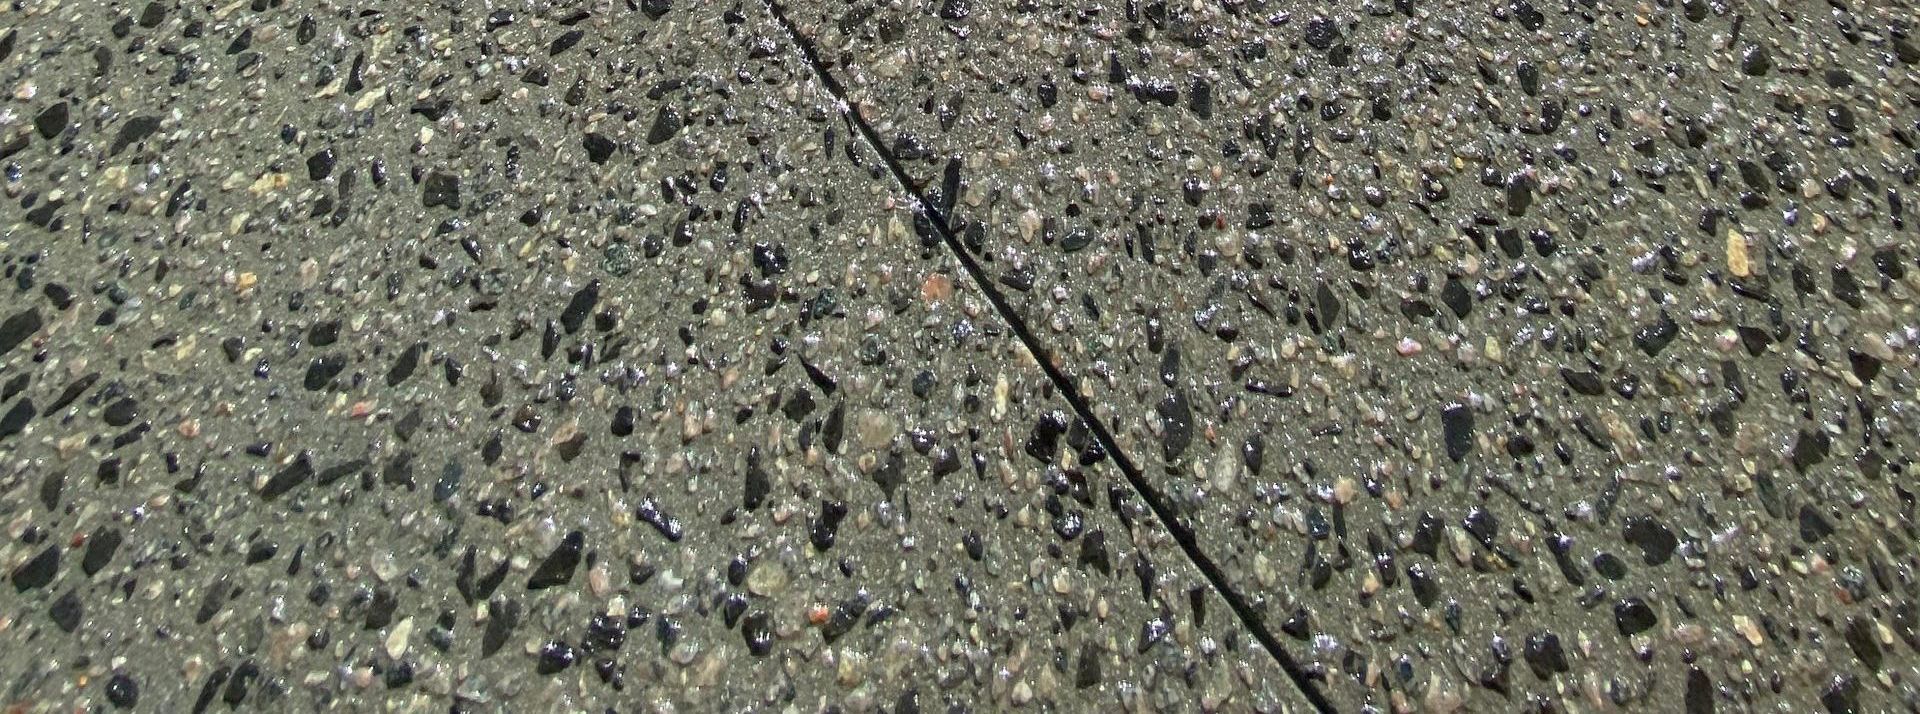
Honed Aggregate
The main component of the installation, honed aggregate is a mixture of finely crushed stones, such as granite, quartz, or limestone, combined with a binding agent. It is available in various sizes, shapes, and colours, allowing for customisation according to your preferences.
Base Materials
The base serves as a foundation for the honed aggregate. It typically consists of compacted gravel or crushed stone, which provides stability and drainage. The specific base material required may vary depending on the site conditions and the intended use of the surface.
Formwork
Formwork is used to create the desired shape and dimensions for the honed aggregate surface. It can be made from wood, metal, or plastic, depending on the complexity of the project and personal preference.
Adhesive or Resin
An adhesive or resin is used to bind the honed aggregate particles together and ensure a strong, durable surface. The adhesive or resin should be specifically designed for honed aggregate installation and compatible with the chosen aggregate material.
Sealer
A sealer is applied to the honed aggregate surface to enhance its appearance, protect it from stains and discolouration, and improve its durability. There are various types of sealers available, such as penetrating sealers and topical sealers, each offering different benefits.
By understanding the materials required for honed aggregate installation, you can ensure you have everything you need before starting the project, saving time and avoiding unnecessary delays.
Preparing the Surface for Honed Concrete Installation
Proper surface preparation is crucial for a successful honed aggregate installation. It ensures a stable foundation, enhances adhesion, and promotes proper drainage. Here are the key steps involved in preparing the surface:
1. Site Evaluation
Before starting the project, evaluate the site conditions to identify any potential issues that may need to be addressed. Check for proper slope, drainage, and any existing damage or unevenness that may affect the installation.
2. Excavation
If necessary, excavate the area to the desired depth, taking into account the thickness of the base materials and the honed aggregate. Remove any vegetation, rocks, or debris from the excavation site.
3. Base Preparation
Once the area is excavated, prepare the base by compacting the soil or adding a layer of crushed stone or gravel. The base should be properly graded to ensure proper drainage and prevent water accumulation.
4. Formwork Installation
Install the formwork to create the desired shape and dimensions for the honed aggregate surface. Secure the formwork in place using stakes or screws, ensuring it is level and properly aligned.
5. Edge Reinforcement
To prevent cracking and maintain the integrity of the honed aggregate surface, reinforce the edges using metal or plastic edging materials. This will help contain the honed aggregate and provide a neat, finished look.
By following these surface preparation steps, you create a solid foundation for the honed aggregate installation, ensuring long-lasting results and minimising the risk of issues such as cracks or unevenness.
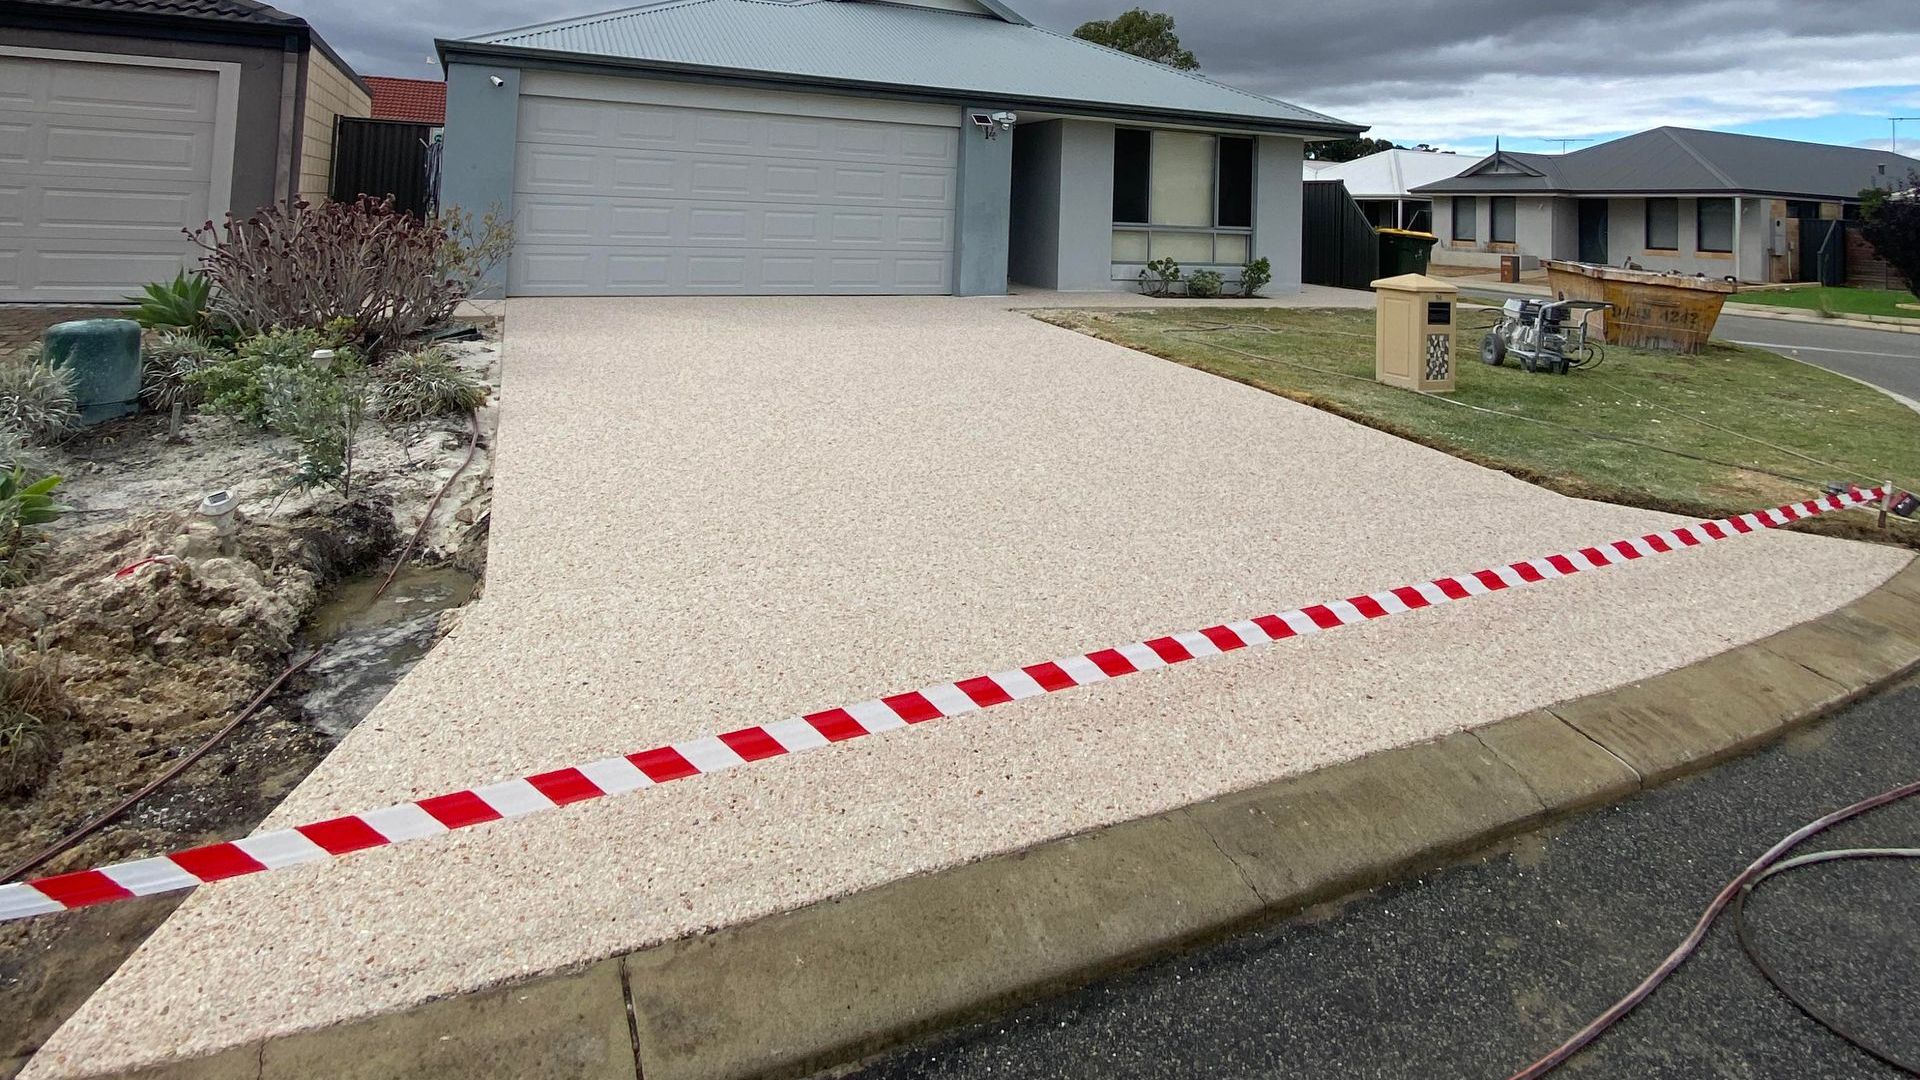
Applying the Honed Concrete
Once the surface is prepared, it's time to mix and apply the honed concrete. This stage requires precision and attention to detail to achieve the desired finish.
Pouring the Aggregate
Pour the mixed honed aggregate onto the prepared surface within the formwork. Use a shovel or a trowel to spread the aggregate evenly, ensuring it reaches all areas and fills any voids or gaps. Work in small sections to maintain control and avoid the mixture drying out.
Levelling and Smoothing
Once the aggregate is poured, use a screed or a straight-edged board to level the surface. Move the screed back and forth in a sawing motion, applying light pressure to create a smooth, even surface. Repeat the process until the entire surface is levelled.
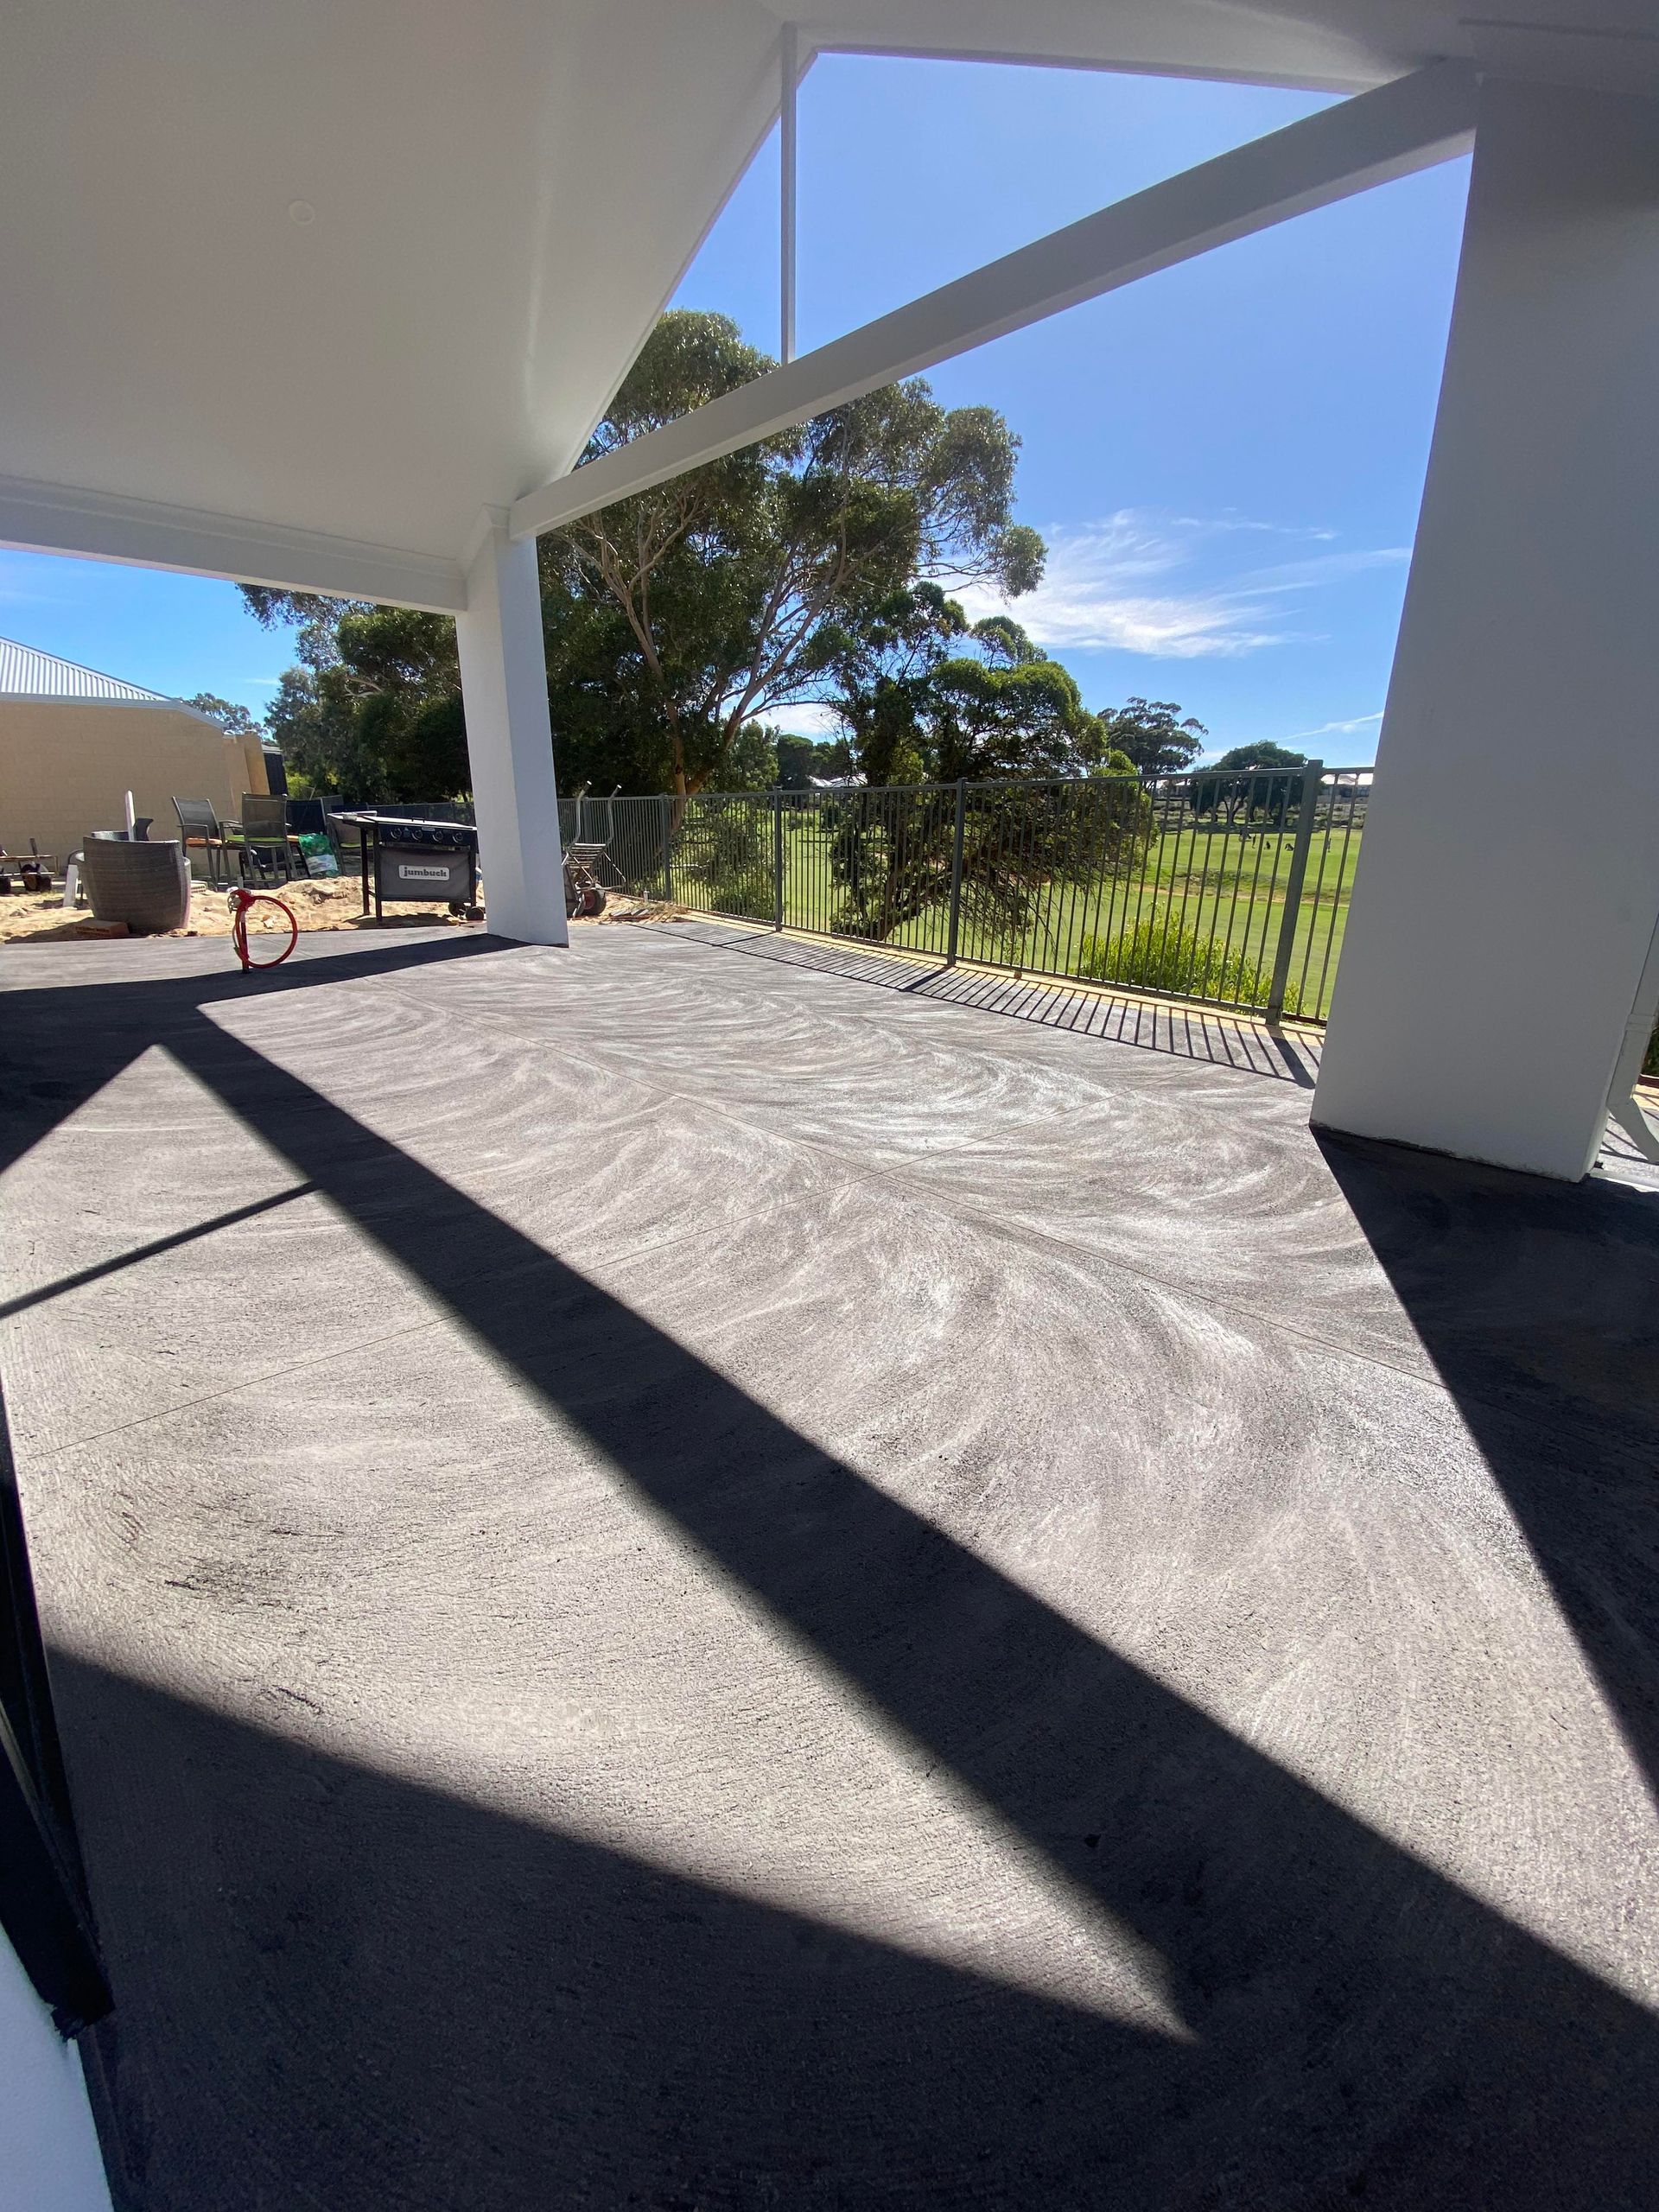
Finishing Techniques
Depending on the desired finish, various techniques can be applied at this stage. For a smooth-honed concrete finish, use a power trowel or hand trowel to achieve the desired texture.
By following these steps, you can ensure a consistent, well-applied honed aggregate surface that meets your aesthetic preferences and functional requirements.
Techniques for Achieving the Desired Finish
The honed aggregate installation process offers several techniques to achieve the desired finish. Whether you prefer a smooth, polished look or a more textured, aggregate exposure, here are some techniques to consider:
Honing
Concrete Honing is the process of grinding down the surface of the honed aggregate to create a smooth finish. This technique enhances the colour variations and reveals the natural beauty of the aggregate particles. It can be done using a power trowel or hand-held grinders with diamond polishing pads.
Seeding
Seeding involves adding decorative elements, such as coloured glass, shells, or stones, to the surface of the honed aggregate. This technique adds visual interest and customisation options to the installation, allowing you to create unique designs and patterns.
Colouring
Colouring the honed aggregate is another option to enhance its appearance. Pigments or dyes can be added during the mixing process to achieve a specific colour or tone. This technique allows for greater customisation, enabling you to match the honed aggregate with your existing design elements.
Remember to carefully consider your desired finish and consult with professionals if needed to ensure you choose the right techniques that align with your vision.
Curing and Sealing the Honed Concrete Surface
After the honed concrete is applied and the desired finish is achieved, it's essential to properly cure and seal the surface. Curing ensures the aggregate reaches its optimal strength and durability while sealing protects it from stains, discolouration, and water damage. Here's what you need to know about curing and sealing:
Curing Time
Allow the honed aggregate to cure for the recommended time, typically around 7 to 14 days, depending on the specific product used and the weather conditions. During this period, keep the surface moist by lightly spraying it with water or covering it with a curing compound.
Sealer Selection
Choose a sealer that is specifically formulated for honed aggregate surfaces. Consider factors such as the desired level of gloss, UV resistance, and ease of application. Penetrating sealers are often recommended for honed aggregate, as they provide long-lasting protection without altering the surface appearance.
Sealing Process
Following the manufacturer's instructions to apply the sealer to the fully cured honed aggregate surface is crucial. A roller or sprayer can be used to apply the sealant to ensure even coverage. Apply multiple coats if necessary, allowing each coat to dry before applying the next. Be sure to work in well-ventilated areas and wear appropriate protective gear.
By properly curing and sealing the honed aggregate surface, you prolong its lifespan, maintain its appearance, and protect it from potential damage.
Maintenance Tips for Honed Concrete Surfaces
To preserve the beauty and functionality of your honed aggregate surface, regular maintenance is essential. Here are some maintenance tips to keep in mind:
Cleaning
Regularly sweep or use a leaf blower to remove debris and dirt from the surface. For more thorough cleaning, use a mild detergent and water solution, scrubbing gently with a soft brush or mop. Avoid using abrasive cleaners or tools that may damage the honed aggregate.
Stain Prevention
Promptly clean up any spills, especially those from substances that may stain the surface, such as oil, grease, or acidic liquids. Use a mild detergent or specialised stain remover to treat stubborn stains. Applying a high-quality sealer will also help repel stains and make cleaning easier.
Avoiding Heavy Impact
Although honed aggregate is highly durable, avoid dragging heavy objects or using sharp tools directly on the surface, as they may cause scratches or damage. Use furniture pads or mats to protect the surface from potential impact.
Regular Sealer Maintenance
Over time, the sealer may wear off or become less effective. Monitor the condition of the sealer and reapply it as needed, following the manufacturer's recommendations. This will help maintain the surface's appearance and protection.
By following these maintenance tips, you can ensure your honed aggregate surface remains in excellent condition for years to come, providing long-lasting beauty and functionality.
Honed Concrete Installation Cost and Considerations
Before embarking on a honed aggregate installation project, it's important to consider the cost factors and other essential considerations. Here are some key points to keep in mind:
1. Cost Factors:
The cost of honed aggregate installation can vary depending on factors such as the size of the project, the complexity of the design, the chosen honed aggregate material, and the local labour and material prices.
2. Project Timeline:
Consider the timeline for the project, including the preparation, installation, and curing phases. Factor in any potential weather-related delays or other unforeseen circumstances that may affect the timeline.
3. Professional Installation vs. DIY:
While honed aggregate installation can be done as a DIY project, it requires specialised skills and equipment. Consider your level of expertise, available time, and resources before deciding whether to hire a professional or undertake the project yourself.
4. Local Regulations:
Check the local building codes and regulations regarding honed aggregate installation. Some areas may have specific requirements or restrictions that need to be followed.
Conclusion: Enhancing your Space with Honed Concrete
The honed aggregate installation offers a beautiful and durable solution for various outdoor surfaces. By following the step-by-step breakdown provided in this guide, you can achieve a flawless finish that enhances the aesthetic appeal of your space.
The Installation of Honed Concrete requires preparation of the surface, application of the decorative concrete using the appropriate techniques, and proper curing and sealing of the surface. Regular maintenance will ensure the longevity and beauty of your honed aggregate surface.
At Handmade Concreting, we are committed to providing you with accurate information and empowering you to achieve outstanding results. By mastering the art of honed aggregate installation, you can transform your outdoor spaces into stunning, functional areas that stand the test of time.
Head over to our latest blog post
Honed Concrete: Unlock the Potential of How it Can Transform Your Perth Home to find out more about Honed Concrete and how it can
transform your Perth property.
Request
A Free Quote
Submit your request and we'll get back to you soon to organise a quote!
We are Perth's leading concrete contractors, and have been delivering excellence for over 10 years.
CONNECT
Proudly Powered by West Digital Agency